Thursday, August 15, 2013

15 Minute Shrimp Veggie Stir Fry

Happy Thursday All! It's almost Friday!

So, the husband has been busy busy busy at work this week, and I'm always less willing to cook more time consuming meals when it's just for me. But I face this one predicament, I want to eat delicious food all the time but in most cases delicious food takes more time than not. Well, I'm beginning to realize that's not really true.


This took pretty much negative time....give or take 15 min. Which is basically equivalent to negative time. So easy, so fast, and seriously delicious! Here's what you will need...


Some rice noodles. These are pre-cooked almost all the way rice noodles. PERFECTO for stir frys.....I love you Sainsbury. And no they aren't invisible..just already in the stir fry. (50 points to the first one who spots the cute puppy face in this picture^^^^^)


Your stir fry vegetable mix of choice. Our grocery store does this wonderful packet of fresh never frozen stir fry veggies for 1 quid. Amazing!! I would avoid using frozen mixtures...from experience they always turn out sub par when compared to the fresh stuff.
You'll also need 1/2 lb of shrimp (cooked or uncooked, honestly it takes about the same amount of time)

And EVERYONE knows that a good stir fry is not a good stir fry without a good sauce. 
THIS....


AND THIS.....


Makes the dish. 

Toss the veggies in first and cook for about 3 minutes. Add your soy sauce/rice vinegar/sesame oil/ agave concoction. Toss in your shrimp, cook for about 5 if raw and 2 minutes if cooked. Add your rice noodles, cook for about 6 minutes and top with Sweet Chili Sauce. 

Taaadaaaaa!


I'm getting hungry again just looking at it. We do have left overs...I could just grab a few bites.


Honestly. Go make this. NOW!


Wednesday, August 14, 2013

Tumeric Face Mask (For that Oh so Beautiful Glow)

OK, I know this one is a bit different. Not something you eat, but it is technically still food, and it is made in my kitchen, so the way I see it...this is totally appropriate. Plus, who doesn't love a little self pampering? I personally, LOVE. LOVE. LOVE. it.

This is by far, my all time favorite face mask, including ones I have actually purchased at beauty stores. Mint Julep face masks come in second. But this one is W-O-N-D-E-R-F-U-L! To start with, it has a beautiful color (at least I think so). But even if it was puke green I would still love it because of what it does for my face!


STOP! I know what you're thinking. "Ummm, this girl is CRAZY with a capital C. That's going to turn my face yellow". 

 It won't. I'm not the first to do this...trust me. You can fine tumeric face masks all over the internet and people have been using it for ages. If you follow this recipe, you shouldn't have any issues. But I can say this...NEVER add olive oil. You'll find some recipes that say olive oil instead of honey, or in addition. From what I can tell, olive oil is the magic ingredient to taking it from a nice glow, to looking like a sick Umpa Lumpa. 

This gives you a beautiful glow AND makes your skin feel so clean/fresh/soft/moisturized...pretty much any positive descriptor that you can think of for your face. Here's a break down of how it does so many wonderful things.

Flour- serves as an exfoliator. Helps get rid of all that dead skin covering your beautiful face!
Pure Honey- antibacterial. Trust me, I'm a Microbiologist haha. No seriously...I am. But if you need proof google that baby! PLUS, it's moisturizing. Double Wammo!
Greek Yogurt- packed with nutrients for you face to help those skin cells be happy campers. And yea, moisturizing...again!
Tumeric- Oh dear. Don't get me started on tumeric. Too late! It's like a super food that's totally taken for granted. First off, it too has antibacterial power! It's good for you immune system (when take orally), your liver, your blood pressure..the list goes on and on. Why? Because brace your self..it's got an absurd amount of anti oxidants in it. So yeah, it's good for your face! Good for you health. Don't just put it on your face...eat it. Not the face mask, but just in general :-)

So, here we go. 

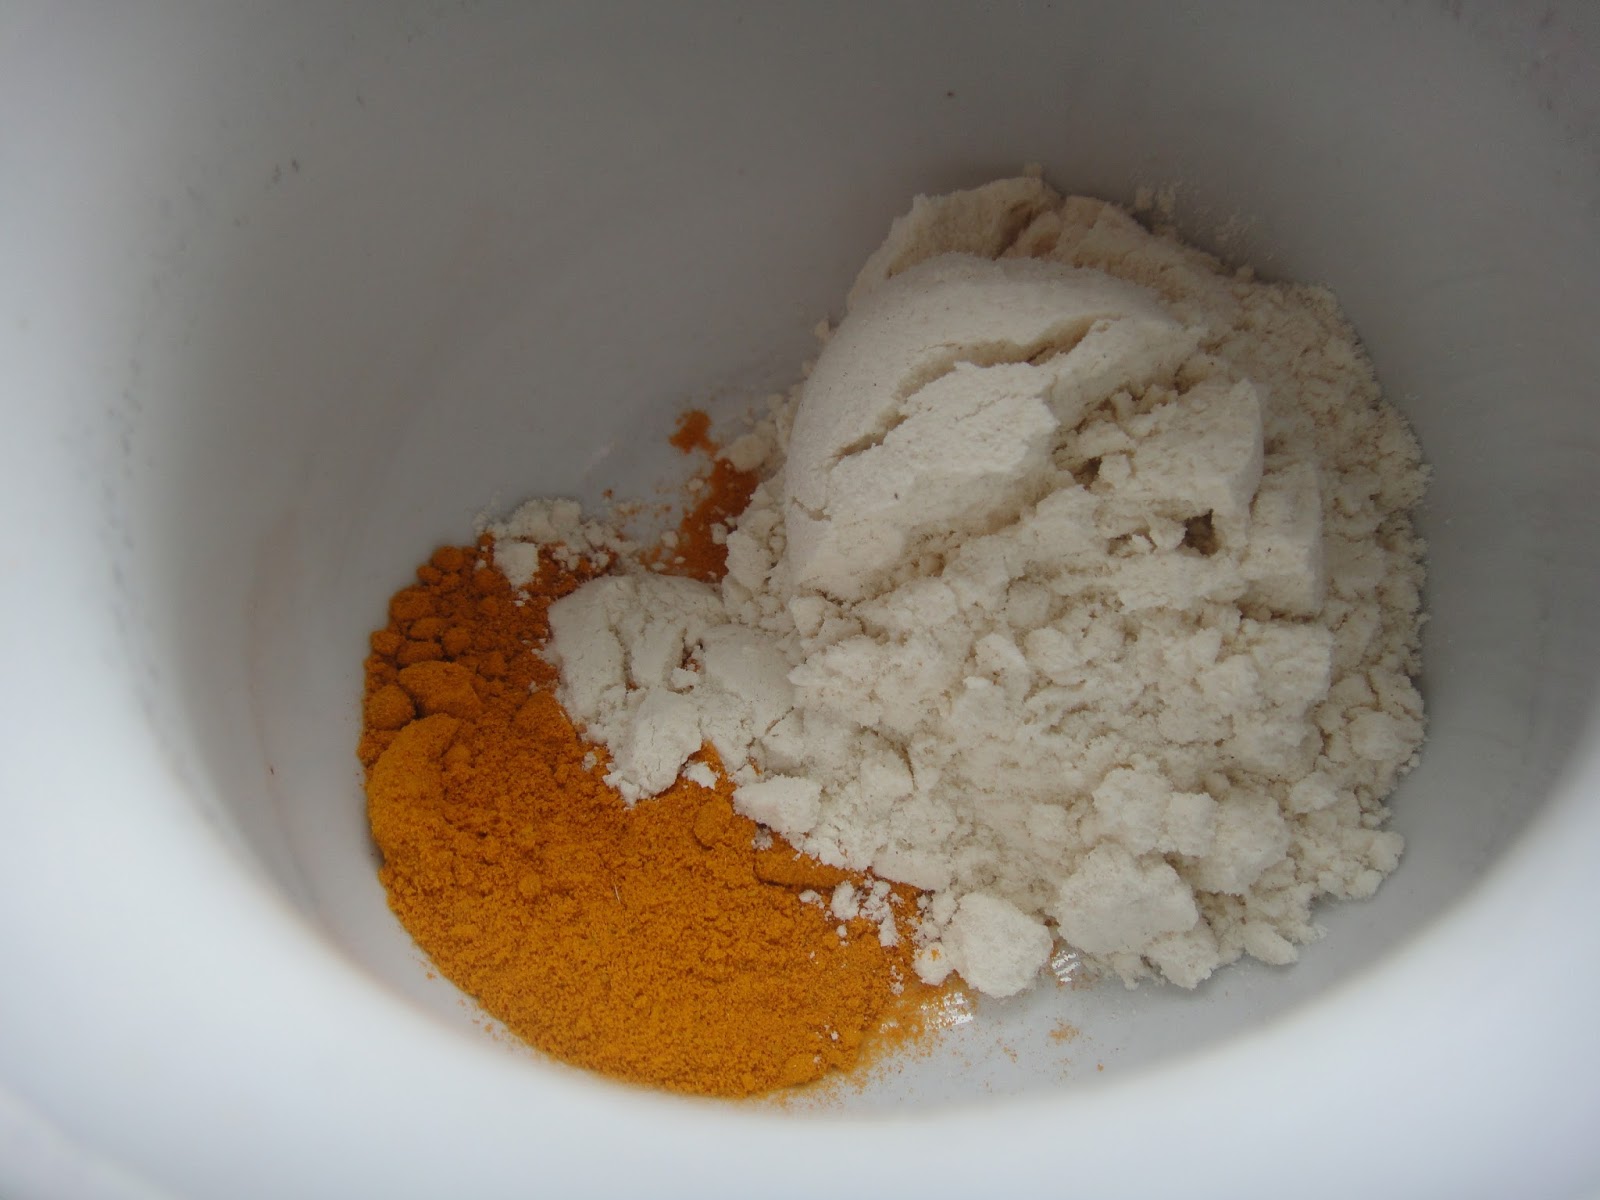
A little bit of tumeric


Some flour


Mix it all up!


Add your yogurt, honey, and some milk to counteract the thickness of it all. Stir it up!


And last, but not least..apply all over your face and leave for ~30 min. Obviously, be careful to not get it in your eyes (though to be honest, I always put it right under my eyes and have never had an issue). I always put it on before I take a shower, that way if I get any in my hair I can just wash it right off with ease. 

Super easy, super cheap, and super amazing. But wait...THERE'S MORE! No seriously, you will have a lot of left over after just one application. No worries, this can be covered and put in the fridge. Iv'e used it for up to a week after making it. It won't go bad. It's got all that antibacterial goodness that keeps it nice for days. I wouldn't use it past a week though. That's my arbitrary cut off.

Now go make it and make your self all pretty/handsome. Yeah that's right fellas, this is for you too! My husband puts it on (admittedly after an hour of pestering from me) when I make it, and it does wonders for him too!

Tumeric Face Mask

Ingredients
1 tsp Tumeric
2 tbs all purpose flour
2 tbs greek yogart
1 tbs milk
1/2 tsp pure honey

1. Mix flour and tumeric
2. Add in all wet ingredients and stir
3. Apply to face/neck and leave to dry for 30min.It will become very dry and stiff, and will crack if you move your face muscles too much. I generally try not to talk when I have the mask on to prevent cracking.
4. Wash off with warm water


Tuesday, August 13, 2013

Blueberry Banana Bread

You know those days, where you wake up full of energy, ready to face the day? All you want to do is go out and just do something? Well yesterday, was not one of those days.

I know it's technically still summer, but the past two days in Bristol have felt a bit more like fall. And I'm not complaining, just loving it. All I want to do on days like these is curl up next to my pup (and husband if he weren't at work), drink some warm tea, and munch on something sweet. So, that's what I did. Plus today is my first day of work at my new job, so it was like a mini vacation.
Printable Recipe

Isn't she a beaut? Bananas, bursting blueberries, and cinnamon all mixed into one lovely bread! What's not to love? Nothing. Nothing is not to love. I had some bananas in the freezer I was meaning to use, plus I promised this post would be coming soon so I thought, "Well, today is pretty much perfect for some warm Blueberry Banana bread". But I can't take full credit for this, I ever so slightly adapted the recipe from Taste of Home.

So, let's get started! First I got out those frozen bananas to thaw as well as the shortening to soften. BTW, NEVER throw away browning bananas. They are perfect for breads, pancakes, etc. Just throw them in the freezer until you are ready to use.


Gathered up the rest of the ingredients. Eggs, sugar, blueberries, flour, baking soda, salt....


 Oh look at me all fancy schmancy. "Finest quality" Vanilla extract. Actually...that's all they have at the store.


Next up, creaming the shortening and sugar. I used a table top mixer for this, but a whisk or hand mixer will suffice. I then added the eggs and vanilla extract and mixed until creamy.


In a separate bowl, I whisked all of the dry ingredients. Slowly added the creamed mixture to the dry ingredients until fully mixed. Dropped in the blueberries and folded them in. P.S., recipe calls for 1 cup, which I followed but I would have liked more in the end. Maybe try 2 cups? Yes!

Now, at this point...most people would put the batter into, oh I don't know...a bread pan. But most people probably didn't just move across the globe with minimal kitchen ware, so I made do with what I had. An oval pyrex dish. Hey, you gotta work with what you got...and this is what I got.


Tossed it in the oven at 375 F/176 C and watched that baby rise! Ok, the rising actually took a long time to start, but once it did it was magical! Well, that was easy wasn't it? Honestly, the hardest part is just waiting for it to bake. Fifty minutes seems like an eternity when all you want is just one sliver! Be sure to let it cool down before you take it out of the pan too. I made the impatient mistake once of flipping the pan to get the bread out and it was disaster.


I have to say though, the most impatient one was my husband. The only thing I heard from him when he got home was "When can I eat some bread?". Ummm, when it cools off and I can cut into it without it being a total mess...that's when. Patience truly is a virtue....at least when it comes to baking. 

Hope you guys love it as much as I do!

Printable Recipe 

Ohh, and one last thing. This makes a pretty large loaf, so if you don't want to wait 50min for a loaf to bake or want some smaller ones to pass around to friends, just use some mini loaf pans and decrease the bake time to about 30 minutes or until toothpick comes out clean. OK...bye.


Monday, August 12, 2013

Garlic Lemon Hummus

Alrighty guys, this one is easy peasy lemon squeezy. No pun intended. That's not true, pun totally intended.

So this one was part of last night's dinner, but it's perfect for snacking on too. I honestly DISLIKE all store bought hummus that I have ever eaten. Perhaps I simply have not come across the right one for me, but of the many I have run across, they all have the same issue... Too Sweet! It's like all the flavor is there, but they added a cup of sugar for the fun of it and ruined it.

And then, one marvelous day about two years ago, my mom decided to make some hummus to snack on. Why, oh why, was I not shown this earlier in life?! And the best part, you can make it whatever delicious flavor your little heart desires. Fancy some roasted peppers? Throw them right in! Love yourself some garlicy pesto? Add in a nice dollop! By the way, pesto....SUPER easy to make as well. I'll get around to making some and post that as well. So, from that day on...no gross sweet store bought hummus. Only the yummy homemade kind for this one!


So, as always..gather up those ingredients! Chickpeas, paprika, lemon, salt....


Olive oil, and garlic. 


mmmk, so now that we got that you're going to want a food processor or a blender. I used a hand blender because it's all we currently have since the move, and it was a less than pleasant experience. My husband turned to me mid process to say, and I quote "Why don't you go take a walk out side? How about getting us some wine?" To which I kindly replied "I don't need a freekin walk. Get your own wine!". 

So basically you just toss everything right into your blending apparatus, which for your sake and sanity I hope is NOT a hand blender, and blend away! I will note, that the olive oil here is both for flavor and consistency. So if you aren't too keen on adding too much olive oil but want something less thick, you can try using milk or save some of the liquid that the chickpeas comes in and add some of that to get a less dry and smooth mixture. 


Yummo, right!? I sprinkled a little bit of paprika on top and dunzo! Of course everything here can be done to taste. So if you prefer a more citrus taste, squeeze in some more lemon. More salt? Yup, sprinkle that right in. You don't have to keep blending it either. Just get the consistency you want and then add the extra salt, paprika, etc. and just mix with a spoon. The flavors will blend right in! It really is perfection. Grab some pita, carrots, broccoli, and dip it right in for a healthy snack. Or, if you're lucky you'll get to enjoy it like this...


I know, it's a bit of a tease! But all that goodness (minus the hummus and the store bought pita) is the husbands doing. Falafel and tabouli. It was, indeed, amazing! I would promise to make them myself and post it, but I don't have much patience for what I arbitrarily deem "complicated" dishes and falafel was one of those. But the tabouli I might, it is in fact very simple. We shall see. 

Sunday, August 11, 2013

French Toast Goodness with Bananas

Woohooo! First blog post ever is going up!!!!!

Ok, done with the excitement. But it is exciting, isn't it?

Anywho, on to why we are really here. To talk about pure deliciousness! And the focus today? Ummm...amazing French Toast Goodness. Because who doesn't love french toast? That cinnamony fall flavor is like nothing else. Not to mention that amazing moment when you cut into your first piece and that warm gooey syrup seeps out just a little, enough to tease you before you take that first amazing bite. Ok, I'm getting a little carried away, but seriously this stuff is plate licking good.

And what do I have to thank for the idea to make french toast? Because let's be real, no way I make my self breakfasts this delicious every morning. Extra eggs! Yup, that's it. The husband needed 1 egg for a recipe he was going to be making, and I needed 2 eggs for a Blueberry Banana Bread I am going to be making (post to come soon!). But we only had 2 eggs in the fridge, so of course we had to buy more eggs. And since eggs at most grocery stores don't come in singles, we thought our surplus of eggs was a good excuse to make something special for breakfast. And the fact that it was a particularly cool morning in Bristol today made it that much better to bite into this baby! All that was missing was a hot pumpkin spice latte! I will SO be making that soon...I will!


Oh, and what's that tucked away in between two slices of fresh warm french toast you ask? Well ok, you probably could use your deductive reasoning skills to figure out from the title of this post that yeah, it's bananas! I'll admit, I'm not typically a huge banana fan. I think the husband is half monkey with the amount he eats. But sometimes, they really do make a dish...and this dish, is one of those dishes. So enough babbling, lets get down to business!


So I got together my ingredients. Cinnamon, pumpkin spice, nutmeg, vanilla extract...


milk, eggs, bread, bananas...

I know, I know...there are no bananas in these pictures. I forgot to take a picture of the one ingredient that I just got through saying, makes the dish! Dummy. 

Next, I cracked the eggs into the bowl (I prefer a flat bottom to fully submerge the bread) and added all those lovely fall spices and flavors a long with some milk.


Yeah don't worry, it's not going to look pretty. Just mix until most of those huge spice chunks are gone, but several will still remain. Now, it was time for those bread slices to go for a swim. And then, onto the pan you go little one! I used some butter on the pan to keep the bread from sticking. 


Cooked it on medium heat until both sides were a beautiful golden brown. Once the first slice was done, I put it on the plate an immediately cut up half a banana and placed them on top. The heat from the french toast warms up the banana and makes it that much more flavorful!


I then topped it with some Agave Nectar and cooked the next slice. My sister introduced me to this beauty! Not as high in sugar as honey, but still naturally delish. My husband was VERY skeptical about not using maple syrup but I said "Trust me, it's gonna be good!". And right I was!


Aww, look...a french toast sandwhich! Ummm, yes please! I then added a bit more cinnamon on top, some more Agave Nectar, and just a sprinkle of powdered sugar. 


And then, both the husband and I devoured it. I promise, I didn't actually lick the plate despite my comment on this being "plate licking good". It just looks like that because I ran my last piece along the WHOLE plate to make sure I didn't leave any goodness behind. Don't judge me! I like my food and my food likes me!

And that's it. Took not more than 30 mins to make, and about 2 minutes to eat every last morsel.

Enjoy!


All images on this blog are my property unless otherwise stated. This includes blog title image and Favicon. If you are planning to use these images, please give credit where appropriate.